| What are the installation steps of the fixed column jib crane
The advantage of the fixed column type cantilever crane is its high reliability, suitable for short-distance and frequent lifting tasks, flexible operation, and greatly improved work efficiency. What
CATEGORY:
CREATED:
Mar 01, 2022
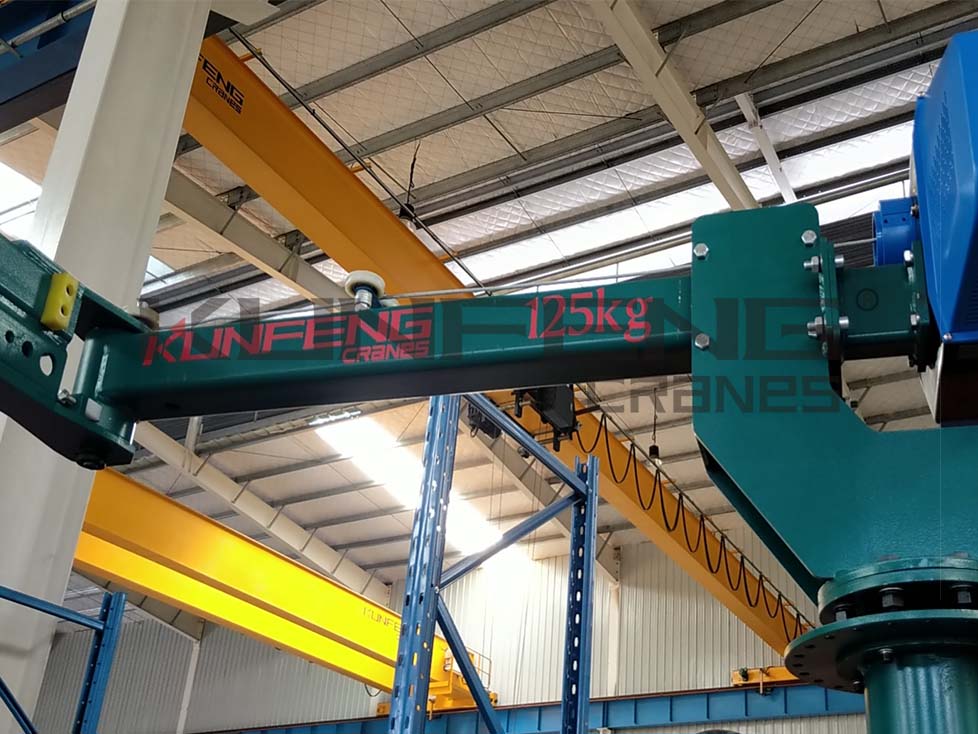
The column type cantilever crane is a kind of lifting equipment that is widely used at present. The advantage of the fixed column type cantilever crane is its high reliability, suitable for short-distance and frequent lifting tasks, flexible operation, and greatly improved work efficiency. What are the installation steps of the jib crane?
1. Install the column: Put the column into the inner ring of the bottom plate, weld the bottom plate and the column on both sides of the bottom plate, and then weld several reinforcing plates to the bottom plate and the column to complete the installation of the cantilever column bottom plate.
2. Installation of end plate and waist ring track: The shaft of the column crane and the end plate are adjusted in place and then welded and fixed to ensure the verticality of the shaft. After connecting the terminal board, put it into the column, and weld and fix the column according to the size of the drawing. The waist ring rail is sleeved into the column, and after adjusting the corresponding position according to the size of the drawing, it is welded and fixed with the column to complete the installation.
3. Installation of the slewing sleeve: According to the size of the drawing, the bearing seat and the slewing sleeve are welded and fixed together by the connecting plate, press into the spherical roller bearing, and then use the bearing pressure plate to seal the left side of the slewing sleeve. The right side of the rotating cylinder is welded with the sealing plate connected by the sealing plate, which is connected by bolts. When installing on site, remove the sealing plate and install the current collector in the rotating sleeve. After the internal components of the cantilevered cantilevered rotary sleeve are installed, the sealing plate is installed to complete the installation.
4. Bracket installation: Weld the shaft on the motor mounting plate, install the main wheel and auxiliary wheel, and then weld and fix the square tube, trapezoidal plate and steel plate according to the size of the drawing. Weld the bracket to the cantilever and complete the installation according to the drawing size.
5. On-site installation of the column cantilever crane: remove the round nut on the column, fix the cantilever on the column through the rotating shaft and the waist ring track, then install the round nut in the rotating device on the rotating shaft, and then install the collectors in sequence Ring and locking polyurethane nut. The ring-shaped cable passes through the inside of the column, is discharged through the central hole of the rotating shaft, and is connected to the inside of the slip ring rotating device, and the slip ring bracket and carbon brush are installed. The end of the carbon brush is connected to the cable and introduced from the middle of the rotating device. Go to the electric control cabinet, and connect the cable to the rotating device to run the motor and lift the electric sprout through the contactor switch in the electric control cabinet.
Installed.
The above are some introductions to the installation steps of the column-type cantilever crane. You can learn about it. If you have any questions or needs, you can contact us directly, or leave your needs and contact information on the website, and we will contact you in time. related!

